When it comes to devices, iPhones and iPads have become a staple in many homes. They offer a wide range of features and apps that can benefit kids and adults alike.
However, with children having access to a world of apps and games at their fingertips, parents need to have some control over what their kids can and can’t do on their devices.
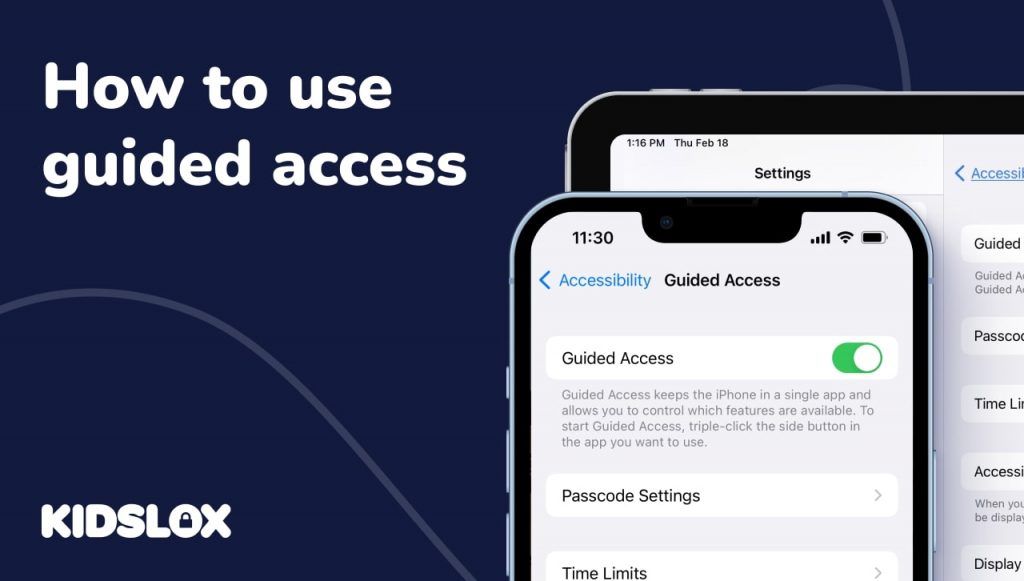
To help give users greater control over their devices, Apple created a Guided Access feature. Guided Access allows users to restrict certain areas of the screen or even certain apps.
Initially designed for individuals with disabilities, this feature can be very helpful for parents who want to make sure their children are only using apps that are appropriate for their age or for parents who want to limit the amount of time their children spend on the device.
So, how can you use Guided Access on your iPhone or iPad to enhance the safety and security of your device? Keep reading our guide below to find out!
What is Guided Access?
Guided Access was initially introduced as a method to help individuals with disabilities better use iOS devices.
By limiting the areas of the screen that can be accessed or by restricting certain apps, Guided Access allows users to customize their iOS experience to better suit their needs.
However, it can also be helpful for parents who want to make sure their children are only using apps that are appropriate for their age or for parents who want to limit the amount of time their children spend on the device.
With Guided Access, parents have greater control over the content their children can access on their iPhones and iPads.
Why Use Guided Access?
There are several reasons you might want to use Guided Access on your device. Here are a few of the most common reasons:
To prevent children from leaving an app.
When you’re using an app – such as an educational game or video – you can use Guided Access to keep them from accidentally leaving the app.
To prevent children from accessing certain features.
You can use Guided Access to restrict access to certain features on your device, such as the camera or Siri. This can be helpful if you only want your child to use an app for a specific purpose and don’t want them distracted by other features. It can also help prevent accidental in-app purchases.
To limit the amount of time spent on an app.
You can use Guided Access to set a timer for how long someone can use an app. This can be helpful if you want to ensure your child doesn’t spend too much time on their device or if you only want them to use an app for a certain amount of time.
How to Set Up Guided Access
Guided Access is an accessibility feature, so it’s already built into your iPhone or iPad and doesn’t require any special software to be installed.
This is good news for parents and guardians who may be concerned about the privacy of their children and the apps they’re using.
Before you can use Guided Access, you will need to set up your Guided Access settings. To do so, simply follow these steps in your iPad or iPhone Settings:
1. Tap Accessibility.
2. Tap Guided Access.
3. Toggle Guided Access on.
4. Set a passcode that will be used to turn off Guided Access.
If you forget your passcode, you will need to restart your device to regain access to it. You can also use Face ID or Touch ID to turn off Guided Access if your device is equipped with these features.
How to Use Guided Access – Running a Guided Access Session
Now that you have set up your device for Guided Access, it’s time to learn how to use it. Here are the steps you need to take to run a Guided Access session:
1. Open the app you want to use or the feature you want to restrict.
2. Triple-click the Home button or the Side button (on iPhone X and later).
3. Use your finger to circle the areas you want to disable. To disable the entire screen, tap outside of the app.
4. Tap “Guided Access” and press “Start.”
Once activated, Guided Access will prevent the user from leaving the app or accessing restricted screen areas. When you want to end the Guided Access session, simply triple-click your Home button or Side button and enter your passcode.
When you are ready to end the Guided Access session, triple-click the Home button or the Side button (on iPhone X and later) and end the session with your passcode, Face ID, or Touch ID. This will return your phone or tablet to normal operation.
Options You Can Set within Guided Access
Within Guided Access, you can also set some options that will further restrict the iPhone or iPad’s operation. Within the “Options” of a Guided Access session, you can disable the following:
- Sleep/Wake Button: This will prevent the user from putting the device to sleep or waking it up.
- Volume Buttons: This will disable the volume buttons so the user can’t change the volume.
- Motion: This will restrict any motion-based features such as tilt or shake.
- Keyboards: This will disable all on-screen keyboards so the user can’t type.
- Touch: This will disable all touch input so the user can’t tap or swipe the screen.
- Time Limits: This will set a limit on how long the Guided Access session can run. When the time limit is reached, the device will automatically lock.
Tips for Using Guided Access with Your Family
If you’re a parent or guardian, you can use Guided Access to control the content your children can access on their devices. Here are some tips for using Guided Access with your family:
1. Explain to your children why you are using Guided Access and what it does. This will help them understand why certain features are restricted.
2. Make a list of apps you use Guided Access with and approve them ahead of time. This will save you time when you’re setting up a Guided Access session.
3. Use Guided Access to limit the amount of time your children spend on their devices. This can be helpful in preventing screen time from becoming excessive.
4. Try using Guided Access with apps that are designed for educational purposes. This can help your children focus on learning and limit distractions.
Guided Access can be a helpful tool for parents and guardians who want to control the content their children can access on their devices. By following these tips, you can make the most of this feature and ensure your family’s safety online.
Enhance Your Device Safety with Kidslox
When it comes to staying safe online, knowing that you have control over what your children can see and do is essential.
With Guided Access, you can reduce the number of controls that are available to your children and limit their access to apps and features that you approve. However, for the ultimate in online safety for your family, we recommend using an app like Kidslox.
Kidslox is a parental control app that gives you the ability to block apps, set time limits, and filter content on all of your family’s devices.
With Kidslox, you can ensure that your children are only using age-appropriate apps and websites and limit the amount of time they spend online.
Plus, Kidslox is easy to set up and use, so you can get started protecting your family right away – and a single account covers all of your devices.
If you’re looking for a way to take control of your family’s devices and keep your children safe online, we recommend trying Kidslox. With its ability to block apps, set time limits, and filter content, Kidslox is the ultimate parental control solution. Get started today and see how easy it is to keep your family safe online.


